The Shade Sail Boutique UK
Elegant sun protection from AustraliaInstalling your Shade Sail
Full Instructions |
Detailed Installation Instructions using a 5m x 5m Sail Shade |
|
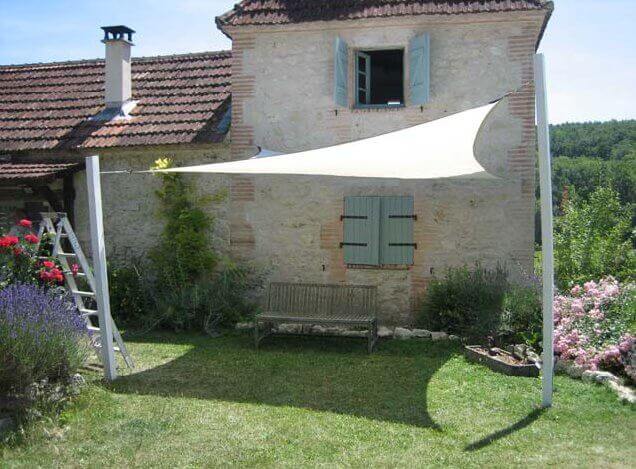
Where to install your Sail Shade |
|
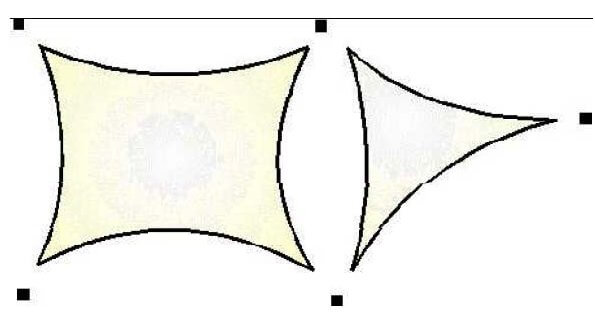
Attaching to existing structures or install new fixingssOnce you have decided where your shade sail is to be installed, you then need to consider where each corner of your shade sail will be attached. If existing structures are already in place, then you may be able to use these as fixing points. Even if the structure is not in exactly the right location, it may be possible to use it by using stainless steel chain or rope to extend the distance between the anchor point and the shade sail fixing. It is important to use good quality, marine grade steel for the fixings so that they are strong enough to correctly tension the shade sail and will not rust (which could discolour the shade sail fabric). If no pre- existing structure are available then you will need to install posts (usually wooden or metal) to create the an anchor point for each corner of the shade sail. The easiest method to determine the exact position of each anchor points is to lay out the shade sail on the ground in the exact position where you wish it to be installed. When you are happy that it is in the perfect position you can identify the correct position of the anchor point. Once the shade sail is laid out on the ground,, bisect the angle at each corner of the shade sail to determine the exact direction of the fixing. Once you have the direction for each of the fixing points, you will need to calculate the minimum distance betwen the corner of the shade sail and the anchor point allowing for the fixings (turnbuckle etc) as well as some allowance for the stretching of the shade sail over time. We recommend that you leave at least 350mm. Yoiur shade sails should not be installed horizontally, so that any rainwater will run towards the lower edge of the fabric. A level shade sail will encourage wainwater to pool in the middle wher it will slowly drip through the fabric, probably onto the chairs or table that you wanted to shade. We recommend that your shade sail should be installed with one side of the shade sail 30cm or more higher than the other side. This will ensure that the vast majority of any rainwater will flow towards the lowest point. You should also consider where you want any rain water to fall. For example, where a shade sail is installed to the side of a house on one side and posts in the garden on the other, it is alm ost always desirable to have any rain water flow towards the garden and away from the house wall. Many customers decide to install their square or rectangular shade sail with architectural twist. To do this it is recommended that the height differences between the fixing points are in the region of 60-80 cm for a 3.6m x 3.6m square shade sail, and in the region of 1m to 1.2 m for a 5m x 5m square shade sail |
|
|
If the distance between the corner of the shade sail and the anchor point is too large, this can be easily rectified by using an additional turnbuckle, a length of stainless steel rope or a length of stainless steel chain. If the distance between the corner of the shade sail and the anchor point is not large enough, then this may cause significant problems as you may not be able to tension the shade sail correctly. This can have implications for the longevity of your shade sail as the shade sail will sag, potentially causing rain water may collect in the center of the fabric effecting its visual appeal.
You should remember that the fabric of the shade sail will expand under tension. A 5m length may expand by up to 15cm. It is important therefore that a new shade sail should not use all of the available space between the anchor point and the corner of the shade sail to allow for this stretching over time. Regardless of the shape or size of the shade sail you are installing, you should always ensure that you leave enough space for this stretching so that the shade sail can be tensioned correctly. |
|
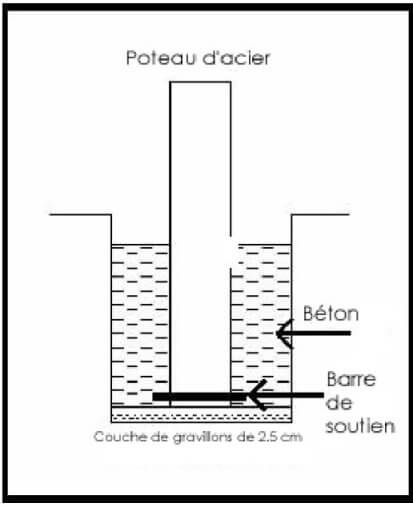
When installing postzs (usually wooden or metal), then the depth under ground will depend on the size of the shade sail being installed and total height required above the ground. As a very basic guide a third of the post should be below ground with two thirds above. Using this guide, if you want to install your shade sail at a height of around 2.4m, then you will require a post of 3.6m, with 1.2m below ground level. It is also beneficial to install the post at an angle away from the direction in which it will be pulled by the shade sail. This can increase the resistance of the post to any movement (view the Coolaroo installation guide (english) for more information)
If your posts are not installed correctly, then they may move when the shade sail is tensioned. Should this happened then we recommend resetting the posts as this will probably be easier than fixing problems down the line. If your post is installed in soft areas of earth, for example perhaps it passes through a layer of soft sand, then the depth of these layers should not be included in the calculation of the required depth. For most holes used for fixing posts a diameter 350 mm is recommended, but depth is the most important factor. |
|
Installation |
|
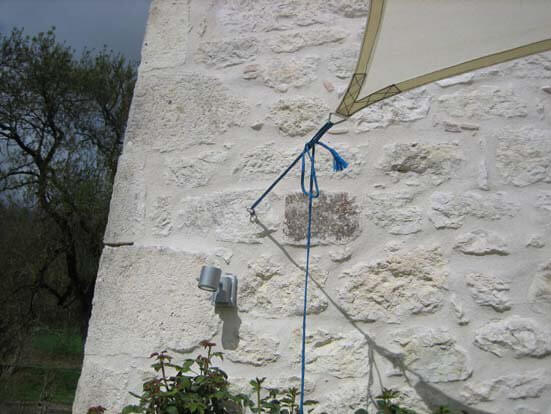
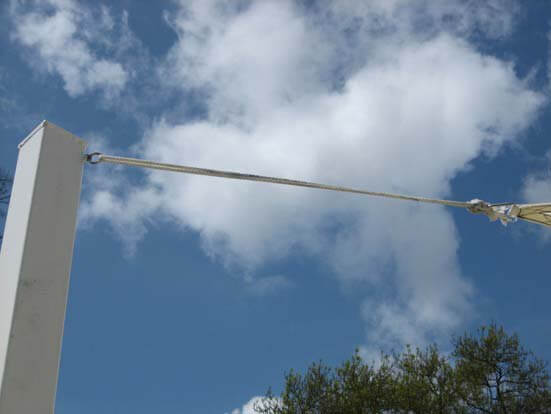
Create the appropriate anchor point on your post. You can use a surface mounted fixing secure by long screws, or a fixing which goes through the post.
To create a twisting effect the fixings should be positions at different heights. |
|
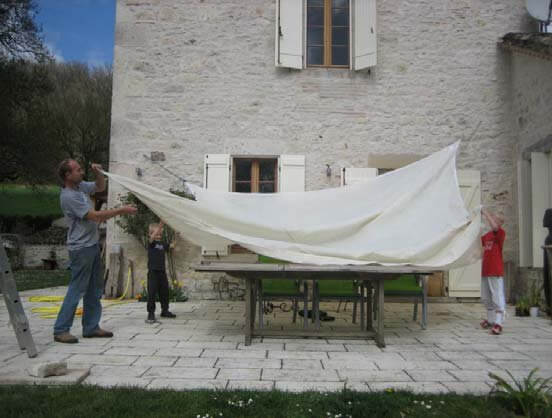
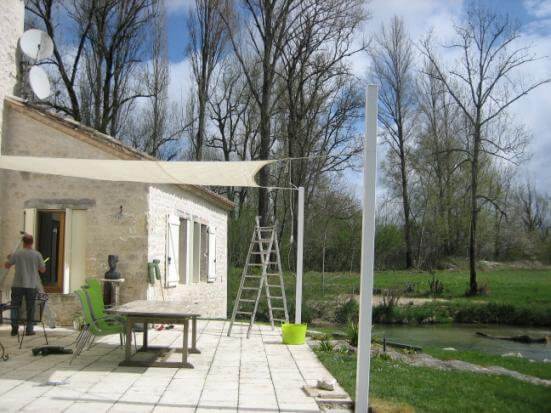
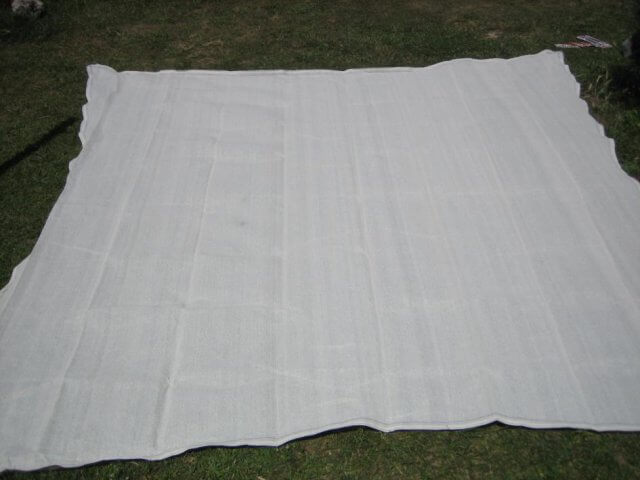
Unpack and unfold the shade sail and position where you wish it to be installed. |
|
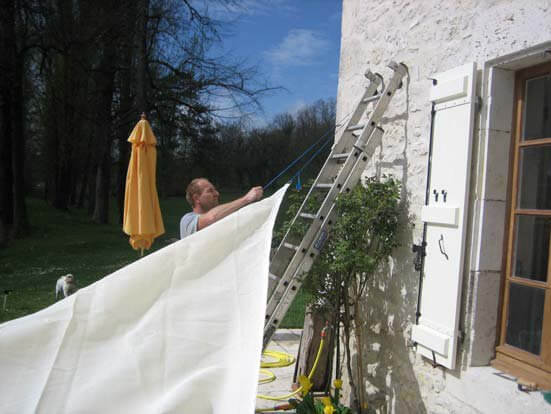
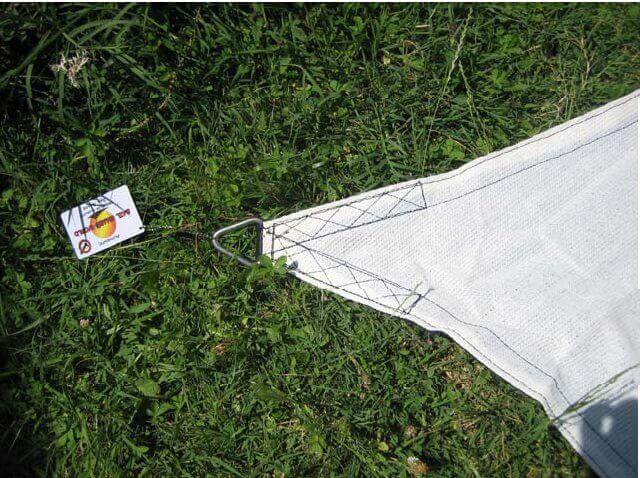
Attach the shade sail to the first anchor point using a rope or similar. |
|
Use the rope to shorten or lengthen the position of the shade sail so that it is in its final position' |
|
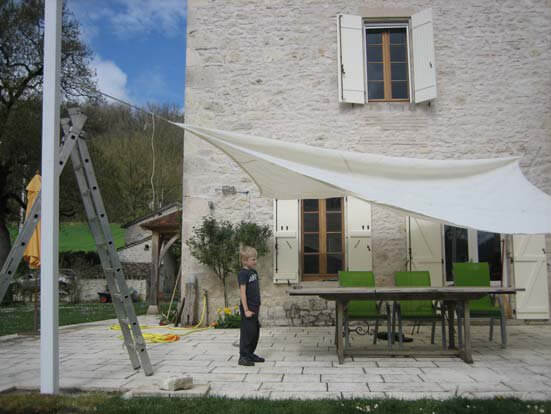
Repeat these steps with the remaining corners of your shade sail so that it is in its approximate positions. |
|
Adjust the length of the ropes at each corner until you are happy with the final position |
|
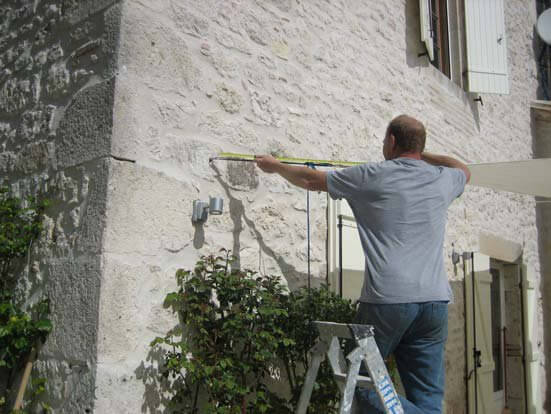
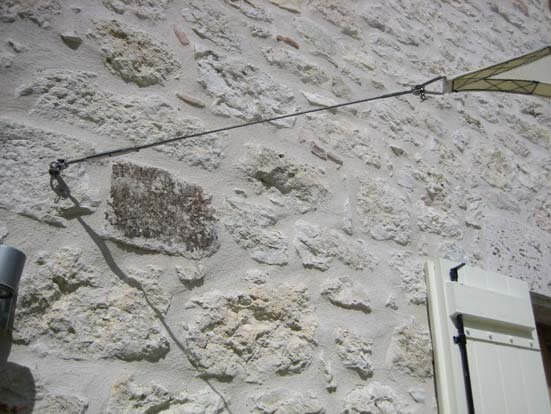
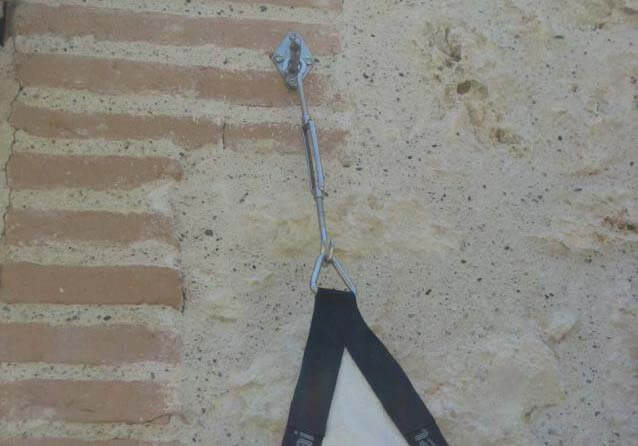
Measure the distance from the anchor point on the wall or post, to the fixing ring at the corner of the shade sail |
|
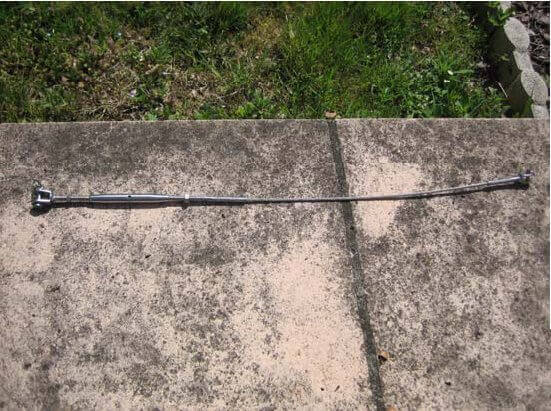
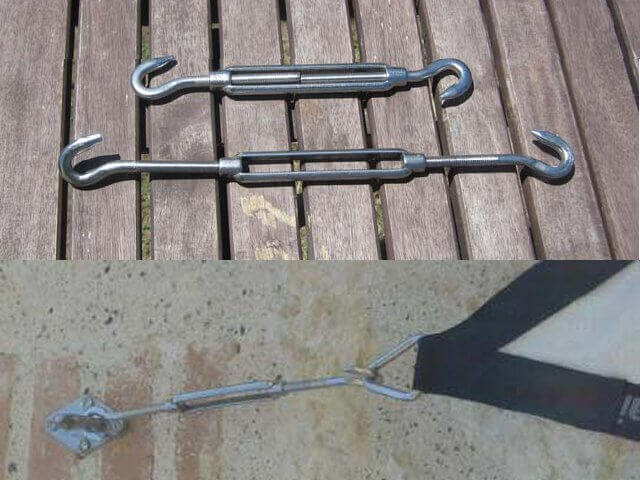
Prepare the stainless steel fixings for each corner. In this example a 6mm stainless steel cable is used with a turnbuckle at one end.
For domestic installations we recommend the use of 8mm marine grade turnbuckles, carabiners and stainless steel rope or chain if necessary. |
|
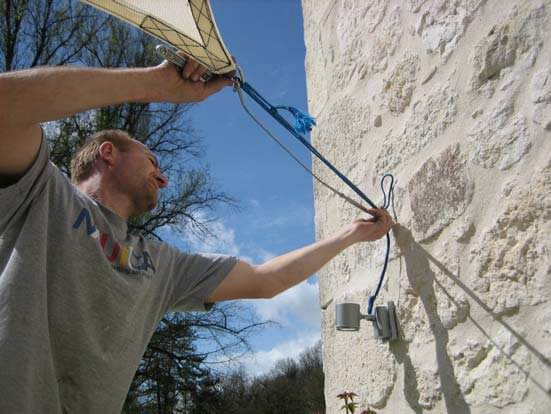
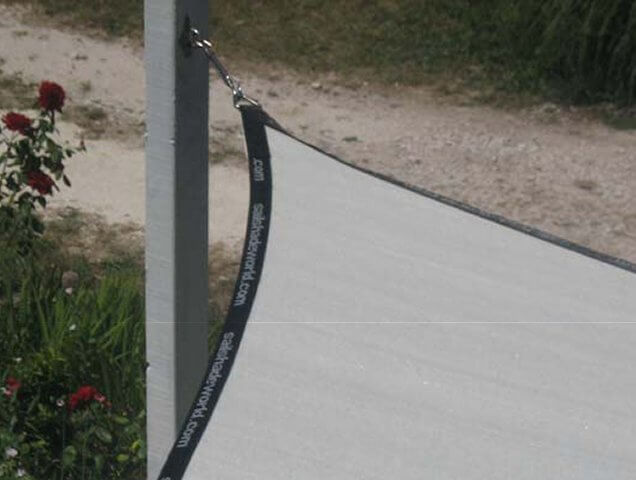
For each corner of the shade sail attach the stainless steel fixings open to their maximum size and remove the rope. |
|
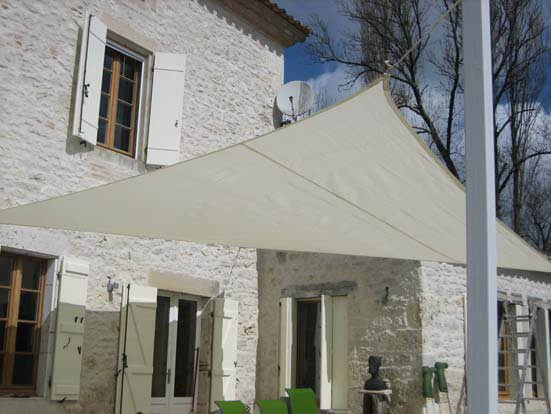
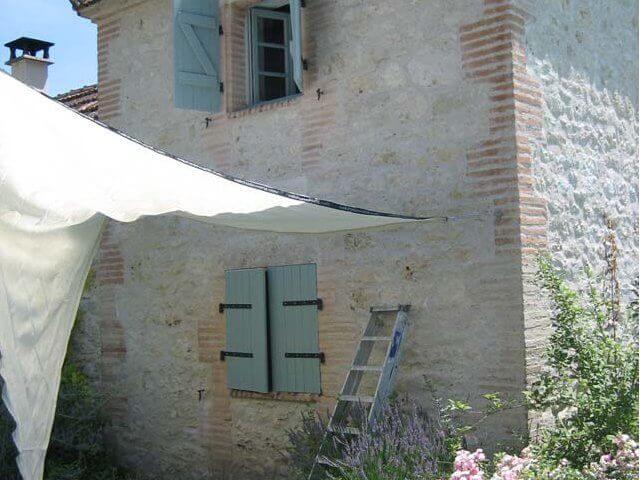
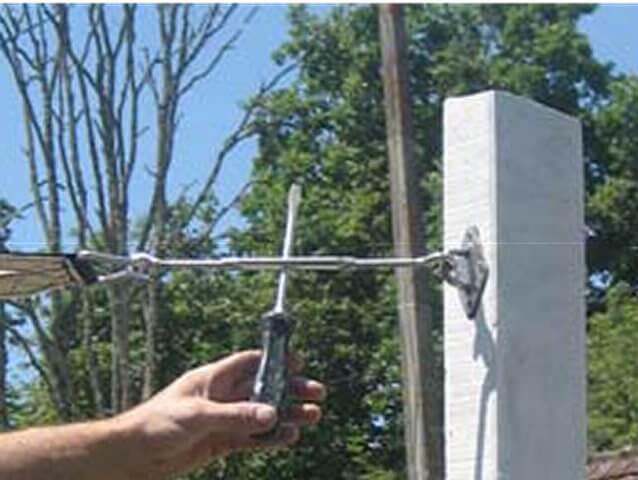
At each corner tighten the turnbuckles to tension the shade sail. You will probably need to visit each fixing several times so that they are tightened at the same rate. Once the Sail Shade has been stretched correctly it should become rigid. This rigidity will ensure that the shade sail does not move in the wind and it will prolong the longevity of the sail. |
|
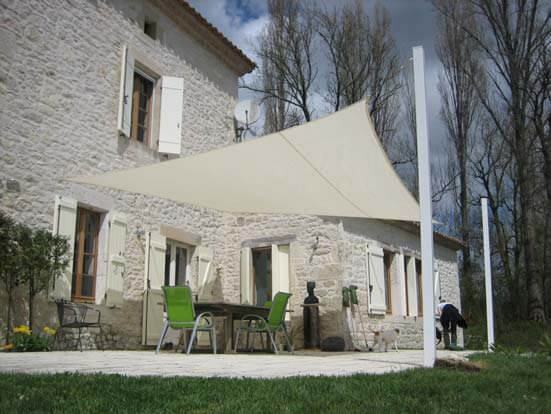
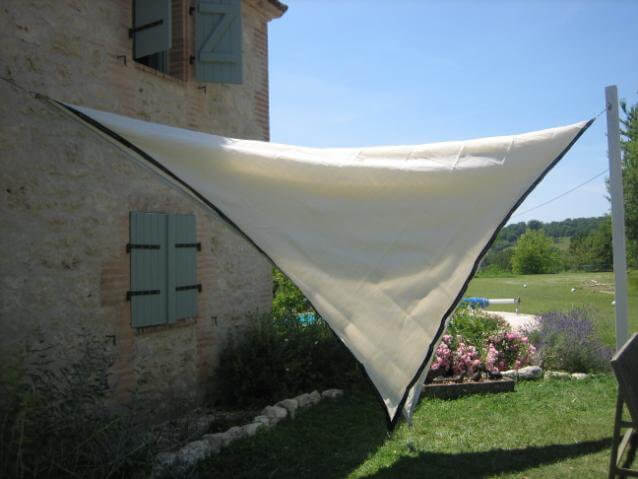
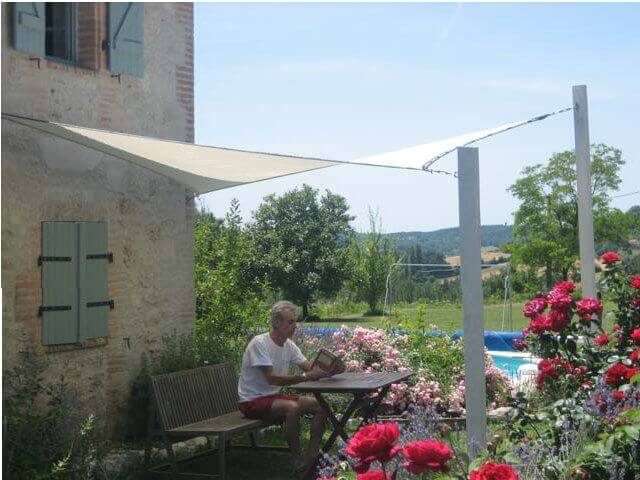
Your shade sail is now installed ! Now you can enjoy a well earned rest underneath your new shade sail ... |
Important Considerations |
Some issues you should consider before installing your shade sail |
|
|
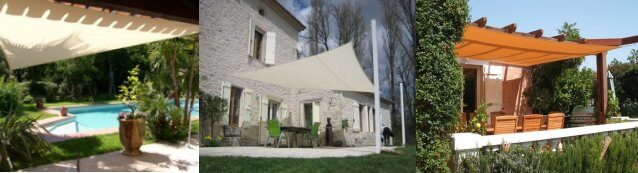
Before installing your sail shade you should consider a number of issues, including how it will look in your garden. Taking a little time to plan the best location for your shade sail will make sure that it will provide the maximum protection from the sun's harmful UV rays and that it will look beautiful in your garden as well !
The first decision you will need to make is where you would like to create shade. Common areas include terraces, children's play areas, swimming pools and to create car ports, but a shade sail is extremely versatile and can be used almost anywhere. Regardless of where you decide to install a shade sail, it will need to be attached at each corner to a suitable fixing point. In many cases people choose to use existing structures such as the wall of a house or a mature tree for some of the fixings, but you may also need to install posts to create additional fixing points. For many installations the fixings are a mixture of existing structures and new posts. For installation on installing posts, please see our other installation guides. |
Architectural TwistOther than our party shade sails which are designed to be used for a few hours at a time and are simply attached by tying ropes to nearby objects, shade sails which are to be left in place for any protracted period should be installed under sufficient tension so that the fabric does not move in the wind. Shade sails are designed with curved edges to facilitate this stretching, but there is no need to install them as a flat sheet of canvas. In fact, shade sails should always be installed with a slope to one edge so that any rainwater will flow towards that edge and not pool in the middle of the canvas where the water will seep through. With square or rectangular shade sails it is also possible, and many people think desirable, to install your shade sail with the fixing points at different heights creating an effect known as architectural twist. Visit our inspiration page to see images of this effect. To install your shade sail with architectural twist, simply vary the height of the fixings by 30 to 50 centimeters at opposing corners. Usually two of the fixing points at one height, and the other two fixing points are 20 to 50 centimeters lower. You should also consider where any rain falling on the canvas will naturally flow to so that most will fall towards the most convenient edge of the shade sail, normally the side nearest the garden. Many people choose to install their shade sail with architectural twist as they consider this design to be more visually appealing. We recommend that you have a look at the photos in the inspiration page to decide which sort of installation would be best for you before making any final decisions regarding where to locate you fixing points. |
Choosing the best size of shade sailThe size of shade sails as quoted on the website and packaging, such as a 5m by 5m square, represent the distance from corner to corner of the shade sail in the box. When installing your shade sail, however, you will need to allow for not only this 5m length, but also for the stretching of the fabric (up to 15cm over a 5m length) and for the fixings at each corner which can be 28cm to 36cm for our fixing kits. In total, therefore, a 5m shade sails will need 500cm for the shade sail, 15cm for stretching and two sets of fixings totaling 60 to 70 cm. This gives an overall length of around 575cm. In order to tension your shade sails and pull the fabric taught, it is very important to leave space for the turnbuckles at each fixing point. Once tensioned the shade sail will become a rigid structure which is easily cope with all normal weather conditions including high winds. It is recommended that all shade sails installations, apart from the party range which are designed to be used for a few hours at picnics etc, have a fixing kit at each corner to tension the fabric correctly. |

|
The movement of the sun during the dayThe sun moves across the sky from morning to evening and is higher in the sky during the summer months. When planning your shade, you need to take this into account. Your should consider where you want to create shade, and which times of the day it will most be needed. Shade sails are designed to not only provide a cool, shaded area but to also protect against the serious health effects which can be caused by over exposure to the sun's harmful Ultaviolet rays. As the sun's Ultraviolet rays are at their strongest, and most dangerous, around midday, most people choose to plan their shade for the summer sun between 11am and 3pm. A shade sail will not only provide shade to keep you and your loved ones cool at these times, but it will protect you from the suns Ultraviolet rays when it is needed most. |
Fixing your shade sail to an existing structuresOur top quality shade sails have been designed to withstand all but the most extreme weather conditions and are frequently left in place all year around in places such as Australia and South Africa. When there is bad weather, and especially strong winds, a shade sail can exert significant pressure upon the fixing points where it is attached to a post of wall. You should therefore ensure that any structure to which the shade sail is attached is strong enough to withstand this pressure. When fixing your shade sail to a wall you should ensure that the wall will be strong enough to support the fixing in bad weather. You should consult a qualified builder or similar if you are not sure that you wall is solid enough. Your shade sail should be take down when snow is forecast. Snow will have a significant weight when it builds up on any surface, and this weight ma be more than the shade sail fabric and fixings points are able to withstand. A shade sail should also be taken down if unusual or exceptionally high winds are forecast. Our marine grade stainless steel fixing kits include turnbuckles and snap hooks which will allow you to remove your shade sail in only a few minutes. Using these fixings it is also easy to reinstall the shade sail once any exceptional bad weather has passed. |
Fixing Posts - wooden posts or metal postsBoth wooden and metal posts are widely used for the installation of a shade sail and both have their advantages and disadvantages.
|
Abridged Instructions |
Quick Guide for installing a sail shade
|
|
|
Many customers remove their shade sail in winter, especially when snow is possible or because they want more sunshine during the winter months. If you remove your shade sail in the autumn, this is the process you will follow the following spring or early summer.
For new installations please see our other installation guides which cover information such as the location of fixings, installation of posts, etc., |
|
|
Take the shade sail out of its packaging |

|
Unfold the shade sail on the ground. Decide in which orientation you want to install your shade sail |
|
Note in this example the reinforced, stitched edges are on the under side of the shade sail |
|
Shade sails need to be stretched using turnbuckles to ensure that the fabric is stretched taught between the fixing points. Open the turnbuckles to their maximum length for installation |
|
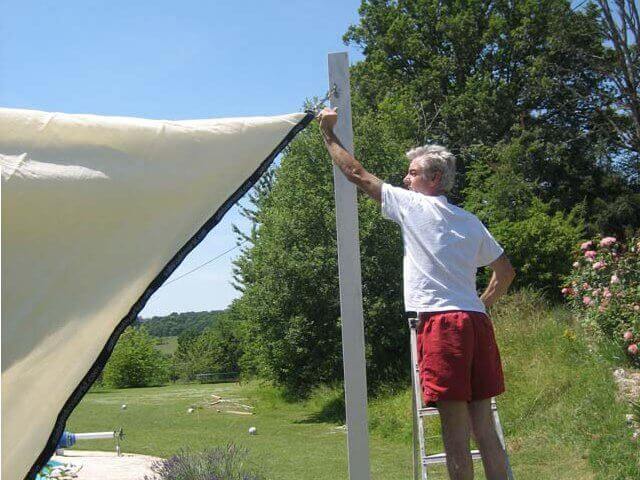
Attach the open turnbuckle to the corner of the shade sail and the fixing point on the wall or post |
|
Repeat this action for the opposite corner |
|
Attach the fixings to the remaining corners |
|
|
Turn the center of the turnbuckle to tighten it. This will begin to tension the shade sail. It is very important that the shade sail is stretched when the turnbuckles are tightened to create the necessary tension. When the sail shade is stretched it will not move in the wind, ensuring that it will last a long time |
|
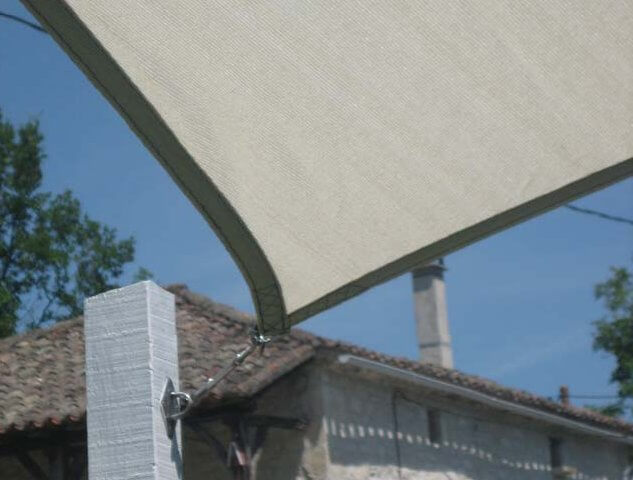
The view of the shade sail from beneath the canopy |
|
You have finished installing your shade sail ! Now you can relax and enjoy the shade .... |
|
|||
|
|
|
tbc 11325 |