
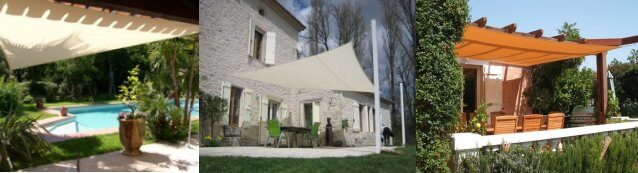
Key points for installing a shade sail
|
Define the area to shade
Start by deciding exactly which area you want to protect: patio, outdoor dining space, garden seating area, balcony, poolside or relaxation zone. This will influence the shape, size and fixing arrangement.
|
Allow for a fall
A shade sail should not normally be installed completely flat. A height difference between fixing points improves rainwater run-off, reduces pooling and helps create a cleaner final look.
|
|
Leave room for tensioning
A shade sail needs to be tensioned correctly to perform well. Leave enough space between the sail and the fixing points for turnbuckles, snap hooks and the natural curve of the sail edges so that you can achieve an even, durable tension.
|
Observe the sun
The best position also depends on when you use the space. Think about the sun at midday, during the afternoon and in the early evening so the shade works when it is genuinely needed.
|
|
Check the supports
Any fixing to a wall, pergola or existing post must be checked carefully. A tensioned shade sail creates continuous pull and the loads rise substantially in wind. Fixing points must therefore be suitable for the structure; if there is any doubt, have the proposed installation checked by a suitably qualified professional.
|
Choose reliable posts
Steel or aluminium posts are often the most dependable solutions. Timber may also work if it is properly sized and incorporated into a strong supporting structure.
|

|
In the United Kingdom, the most useful shade often depends on the time of day your outdoor space is used rather than just the hottest conditions. Watching the path of the sun across your patio or garden helps you position the sail where it will improve comfort most effectively.
|
Full installation guide
Example installation of a 5m x 5m rectangular shade sail. This method is helpful for understanding the general logic of planning, tensioning and fixing.
Choosing the right location
Fixing to an existing structure is often simpler than installing new posts. Lay the sail out in position and allow enough adjustment space for the fixing hardware and tensioning; with our systems, around 280–365 mm at each corner is a useful guide, to be adapted to the actual installation.
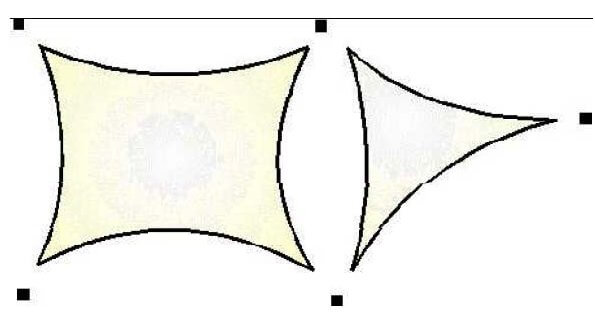
If needed, you can allow even more space between the sail and the support so there is real capacity for tensioning. If the gap is too small, the sail will remain less taut, sag more easily and shed rainwater less effectively.
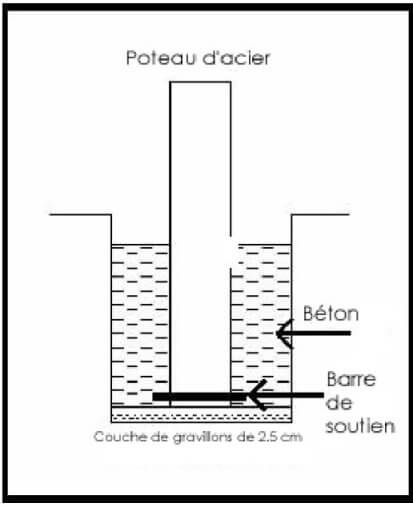
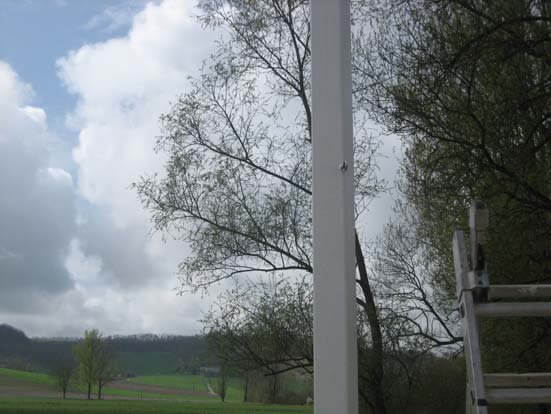
Post stability is essential. Post section, material, foundation and embedment depth depend on factors including sail size, height, ground conditions and wind exposure. There is therefore no universal one-third rule: posts and foundations should be sized for the specific project.
Installation steps
|
1
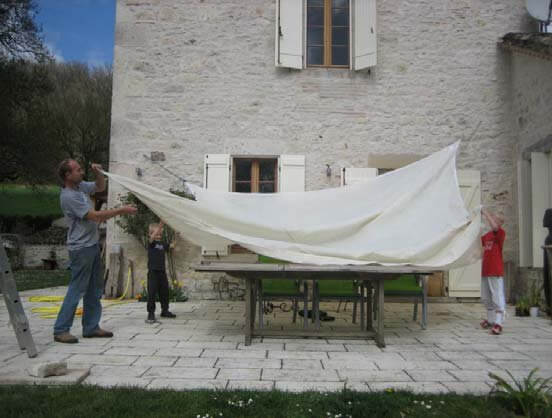
Install fixing points suited to the supporting structure — for example pad eyes on an appropriate structure or eye anchors where the substrate and fixing method are suitable — and set the corners at different heights to create a fall. The required height difference depends on the sail size, shape and layout rather than one universal measurement.
|
|
2
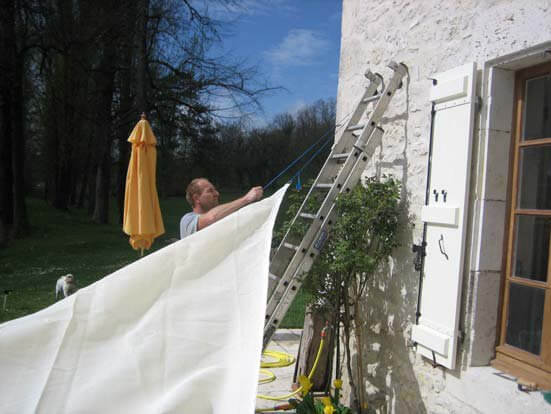
Unpack and carefully unfold the shade sail.
|
|
3
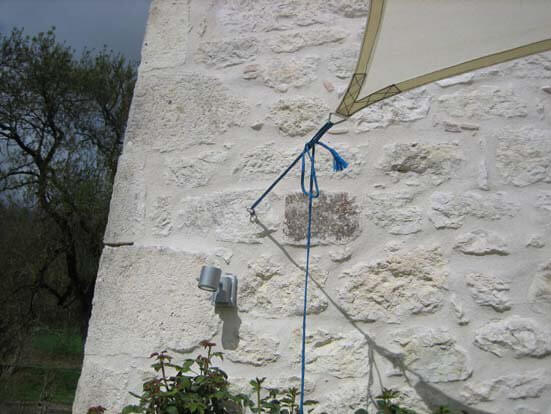
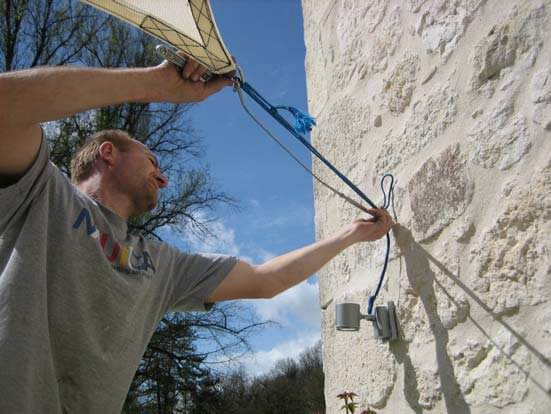
At the first fixing point, use a rope to pull the sail towards the support and position it roughly.
|
|
4
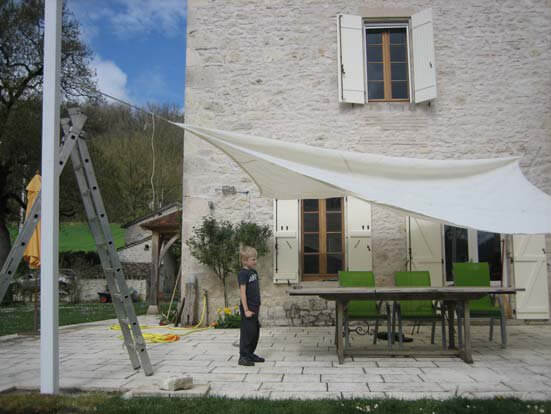
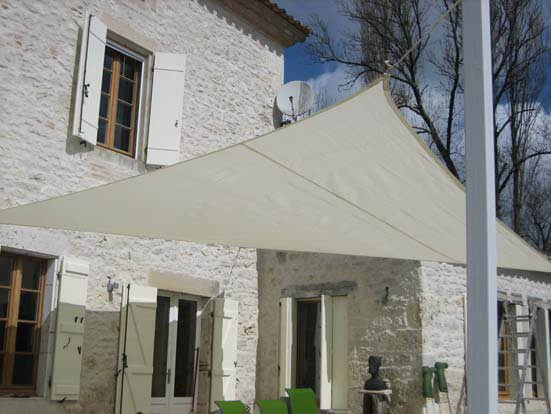
Attach the sail to the wall plate or planned anchor point.
|
|
5
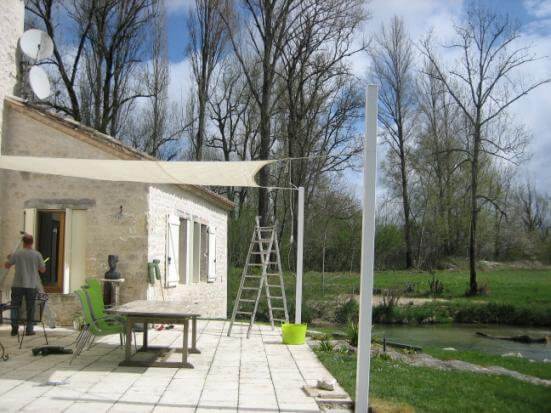
Repeat this for the remaining corners so that all four corners are roughly in place.
|
|
6
Adjust the rope or cable lengths to improve the overall position of the sail.
|
|
7
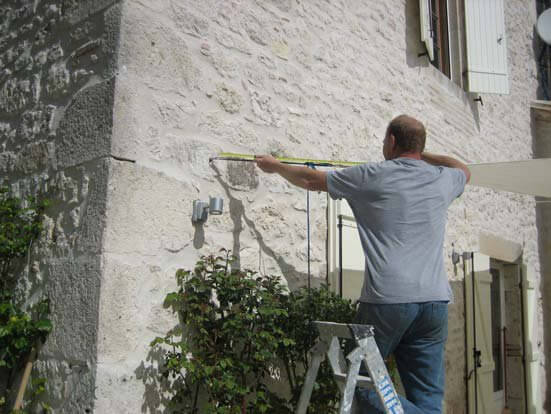
Measure the distance between the mounting point and the sail ring so the final fixings can be prepared.
|
|
8
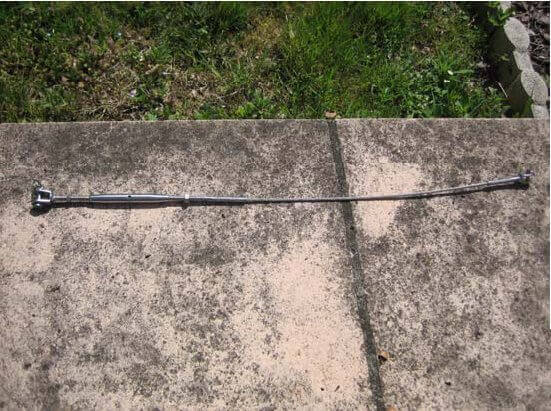
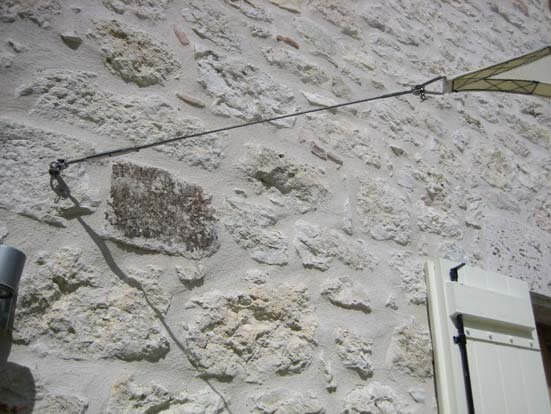
Prepare the permanent fixings. Our kits use 316 marine-grade stainless steel components, including turnbuckles, snap hooks, pad eyes or eye anchors depending on the fixing point. Each fixing must be appropriate for the supporting structure.
|
|
9
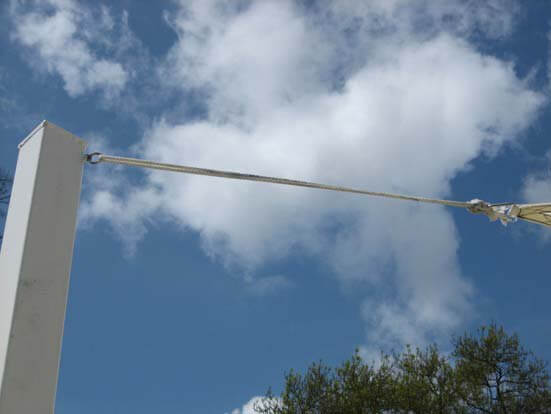
Fit the permanent hardware at each corner and remove the temporary ropes. Tension the sail progressively and evenly without overloading the anchors or supporting structure.
|
|
10
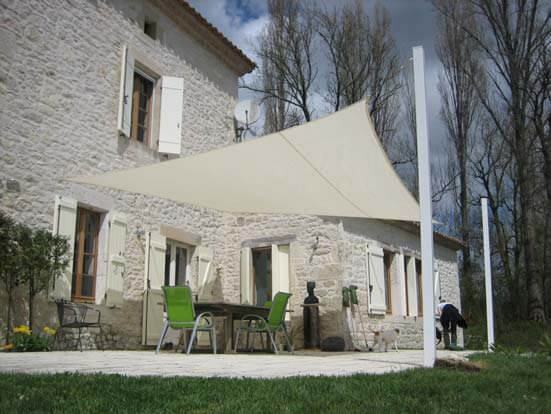
Repeat the process at every corner, then check tension, fall, fixings and supporting structure before use. Installation time varies with the layout and does not include installing or curing new post foundations.
|
|
11
Installation complete. Your new shaded outdoor area is ready to enjoy.
|
Quick installation
Simplified example using a 3.6m x 3.6m square shade sail. This version is useful when the fixing points already exist and you want a faster overview.
|
1
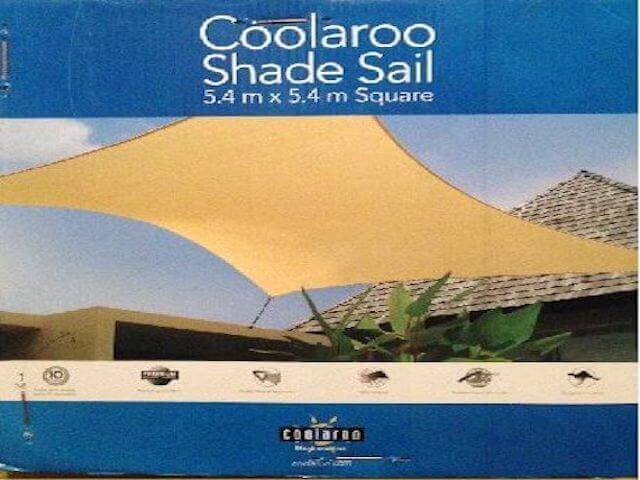
Remove the shade sail carefully from its packaging.
|
|
2
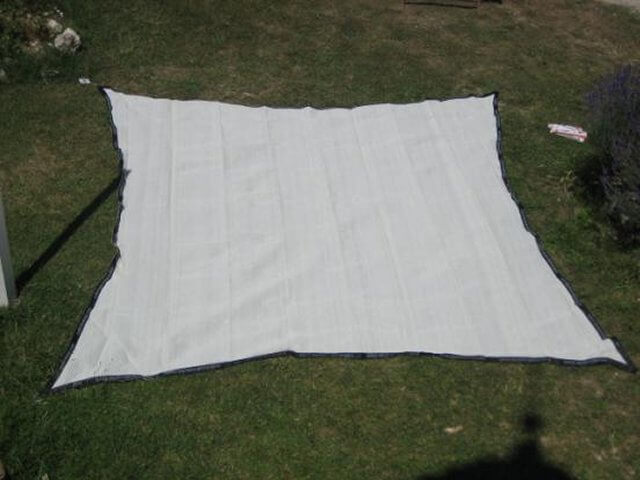
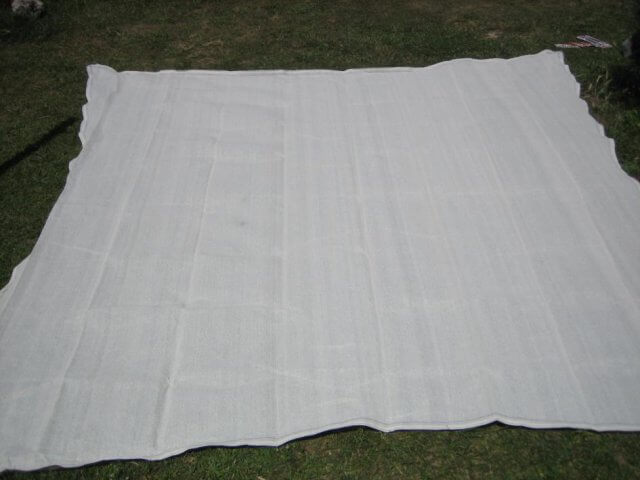
Unfold it fully and choose the intended orientation.
|
|
3
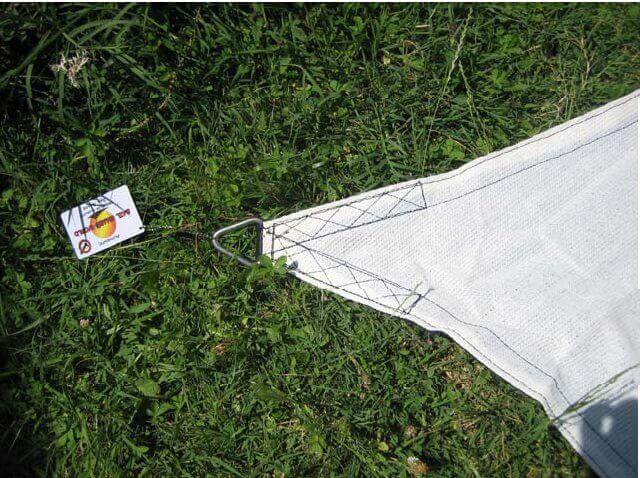
Identify the reinforced edges underneath the sail so the corners are positioned correctly before tensioning.
|
|
4
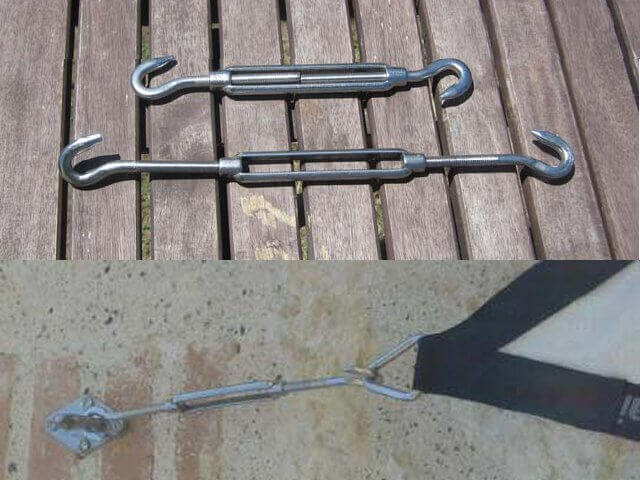
Open the turnbuckles to their maximum length.
|
|
5
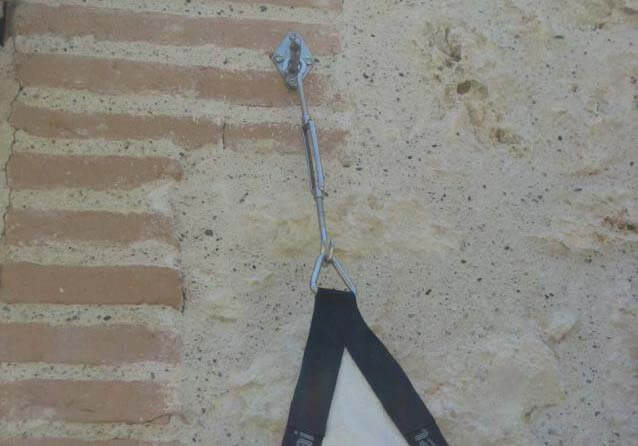
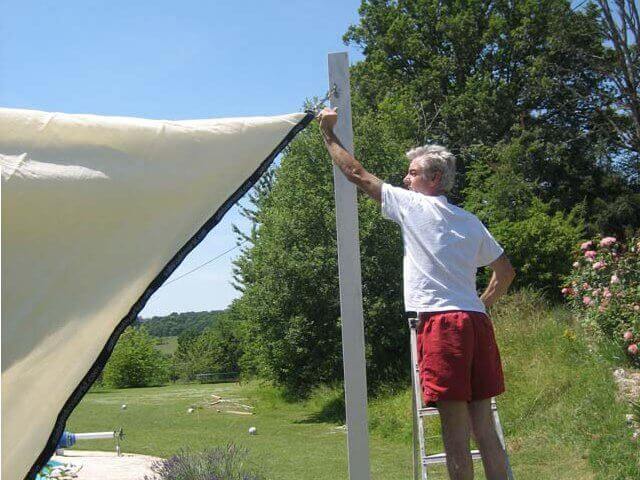
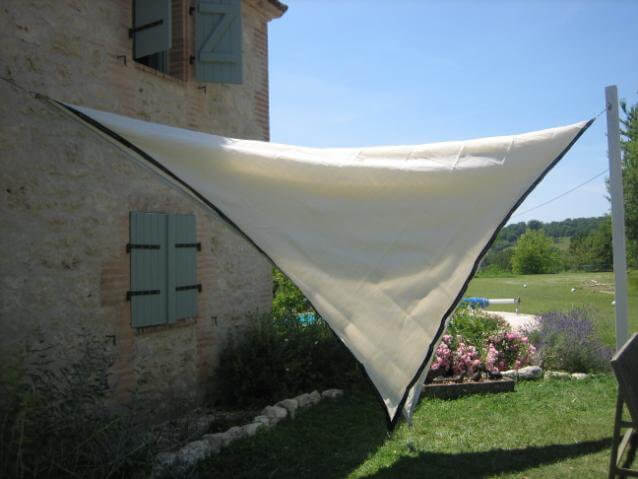
Connect the first corner to its fixing point using the appropriate combination of turnbuckle, snap hook and anchor for the installation.
|
|
6
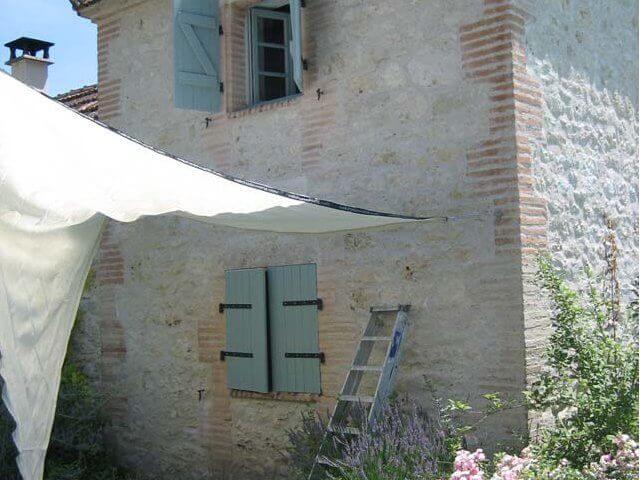
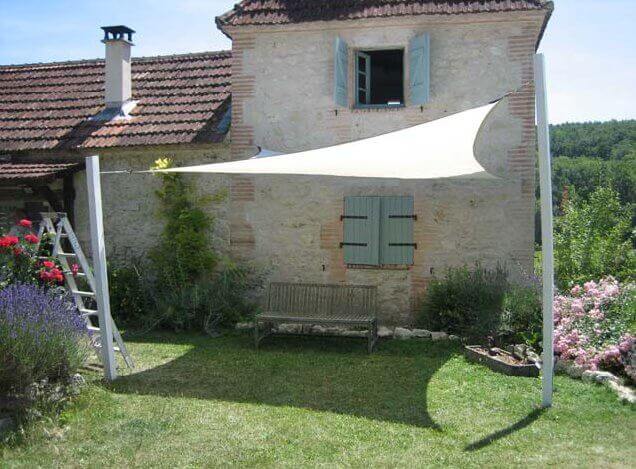
Repeat the process on the opposite corner.
|
|
7
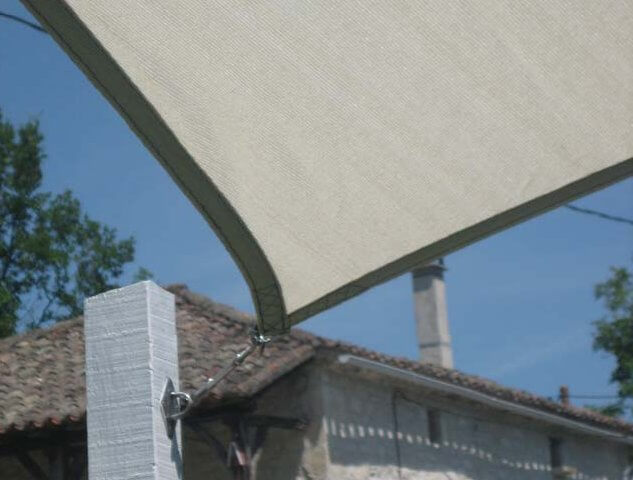
Attach the remaining two corners.
|
|
8
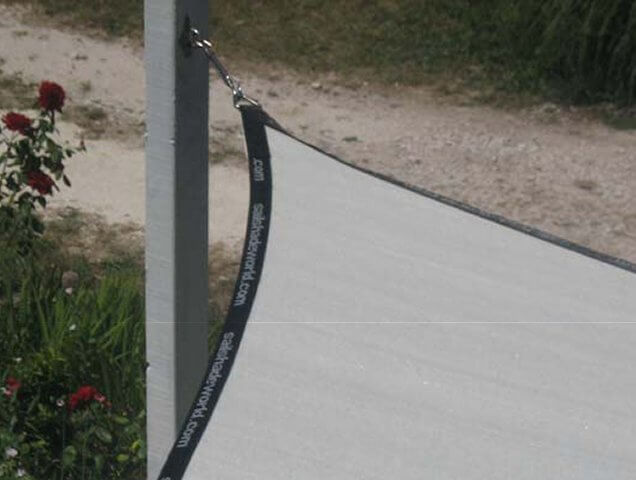
Tension the corners progressively until the sail is firm and even, without overloading the fixing points.
|
|
9
Check the tension and visual balance from below.
|
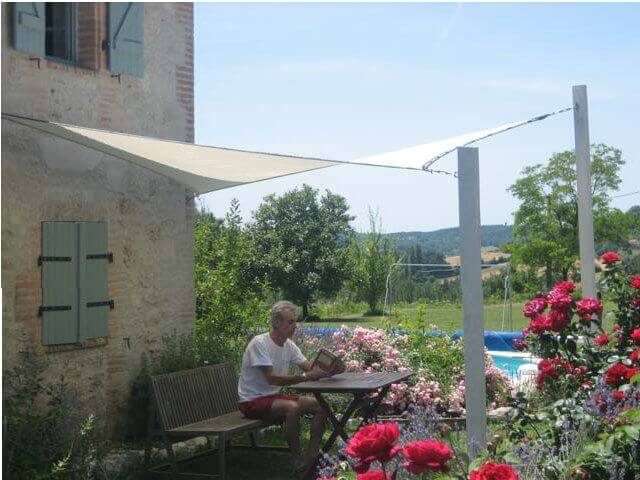
|
10
Once the sail is evenly tensioned and balanced, you can enjoy a more comfortable shaded area on your patio, balcony or in your garden.
|
Useful resources for your project
To complete your project, compare the different sail ranges, prepare the right fixings and review the most useful pages for a dependable installation, based on manufacturer guidance and good installation practice.
Shade Sail Installation Essentials
Should a shade sail be installed with a slope?
A proper fall also improves the overall shape of the sail and helps create a more durable installation.
Why do I need to leave space for tensioning?
Leaving enough space makes it easier to achieve an even tension and helps reduce sagging over time.
What are the best fixing points for a shade sail?
Every fixing point must be able to withstand the constant pull of the sail as well as higher loads caused by wind.
Can I install a shade sail myself?
The key is to measure carefully, allow for a fall, leave room for tensioning and check the strength of all supports before installation.
How do I choose the best location?
Then look at the path of the sun so the sail provides useful shade when the space is actually being used.
Do I always need posts?
Posts are usually needed when existing structures do not give the right shape, angle or tensioning layout.
What type of fixings should I use?
Good-quality stainless steel hardware is often the best choice for a stronger and more durable result.
What creates a cleaner and longer-lasting installation?
When those elements are planned properly from the start, the finished installation is usually neater, more stable and more durable.
Installing it properly matters. Choosing the right shade sail matters even more.
A cheap shade sail may create shade, but that does not mean it provides the same UV protection or long-term durability. Coolaroo is part of Australian manufacturer GALE Pacific and uses outdoor fabrics with long-lasting UV protection built into the core of every fibre of the fabric. Depending on the range, Coolaroo shade sails block up to 95% of harmful UV rays, are approved by Cancer Council Australia and carry manufacturer’s fabric warranties of 5 to 15 years, subject to the range and Coolaroo warranty conditions.
Compare Coolaroo shade sails and choose the shape, size, range and 316 stainless steel fixings best suited to your project.
